Purchasing a new home is an exciting and monumental moment in anyone's life. After an extensive journey of searching, negotiations, inspections, and paperwork, you're finally approaching the finish line. However, before you exchange keys and start turning your dream into a reality, there's one crucial step you should never overlook: the final walk-through.
- Understanding the Purpose
A final walk-through is your last chance to inspect the property before closing the deal. Its primary purpose is to confirm that the condition of the home matches your expectations and the terms agreed upon in the contract. During this process, you'll want to ensure that any repairs or changes requested after the initial inspection have been completed, and the property is in the same state it was when you decided to purchase it.
- Schedule it at the Right Time
Coordinate with your real estate agent to schedule the final walk-through as close to the closing date as possible, ideally within 24 hours of closing. This minimizes the chances of any last-minute issues arising between the inspection and the final walk-through. It also allows you to confirm that the property has been well-maintained during the transition period.
- Bring Your Initial Inspection Report
Before stepping into the home for the final walk-through, make sure you have a copy of the initial inspection report with you. This report will act as a checklist to ensure that all agreed-upon repairs have been completed and that no new issues have emerged since the last inspection.
- Check Major Systems and Repairs
Pay special attention to the major systems of the home, such as plumbing, electrical, heating, and cooling. Test appliances, faucets, light switches, and outlets to ensure they are functioning properly. Examine the repairs that were requested and make sure they have been executed to your satisfaction.
- Verify Personal Property and Fixtures
Confirm that all personal property and fixtures that were included in the sale, as listed in the contract, are present and in the agreed-upon condition. This can include items like kitchen appliances, ceiling fans, window treatments, and more.
- Assess Overall Cleanliness
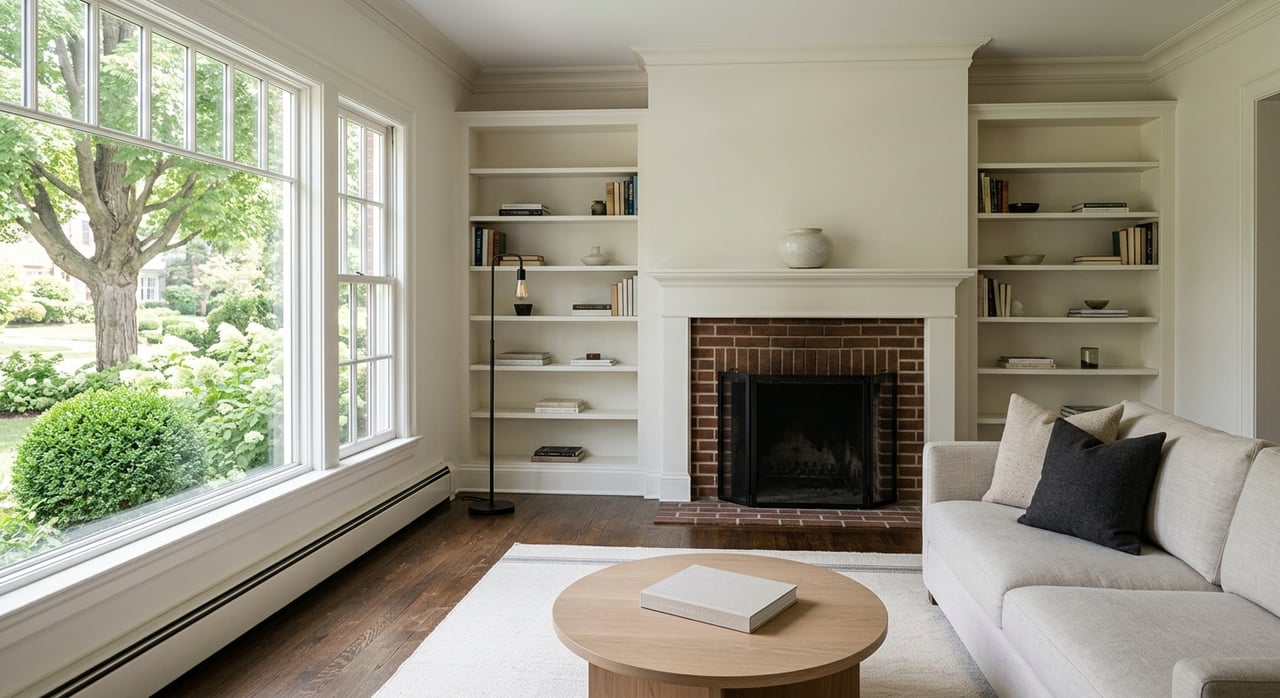
Evaluate the overall cleanliness of the home. The property should be in a "broom-clean" state, meaning it has been cleaned thoroughly and is ready for your move-in. Look for any signs of debris, dirt, or personal items left behind.
- Test Doors and Windows
Open and close all doors and windows to ensure they operate smoothly. Check for any signs of damage or difficulty in operation. Properly functioning doors and windows are essential for security, ventilation, and energy efficiency.
- Document Issues
If you encounter any new issues or discover that agreed-upon repairs have not been properly addressed, document them. Take photos and notes to provide evidence for discussions with the seller or their representatives.
- Communicate With Your Agent
If you identify any discrepancies or issues during the final walk-through, discuss and communicate clearly with your agent. They will be present during the walk through but it is essential you are on the same page. They will help you navigate the situation and negotiate any necessary resolutions with the seller.
The final walk-through is not just a formality; it's a vital step in the home buying process that ensures you're getting what you paid for. By following this guide and paying attention to the details, you can confidently proceed to closing day, knowing that your new home is in the condition you expect. Take the time to conduct a thorough final walk-through – it's the last step before you embark on your new homeownership journey.